This guide walks you through every step from creating your account to launching your first email campaign. Follow along in order - each step builds on the previous one.
Estimated time: 20-30 minutes for platform setup
Go to the MailBeast.ai sign-up page and complete the process.
Confirm your email address.
Once done, you'll be directed to the Dashboard with the onboarding widget visible in the sidebar.

💡 Tip: Your account comes with an organization already created. Multi-organization support (for agencies managing multiple clients or brands) is coming soon!
You need at least one email account to send emails with. MailBeast supports Gmail, Microsoft (Outlook/Office 365), and any other custom SMTP/IMAP mailboxes.
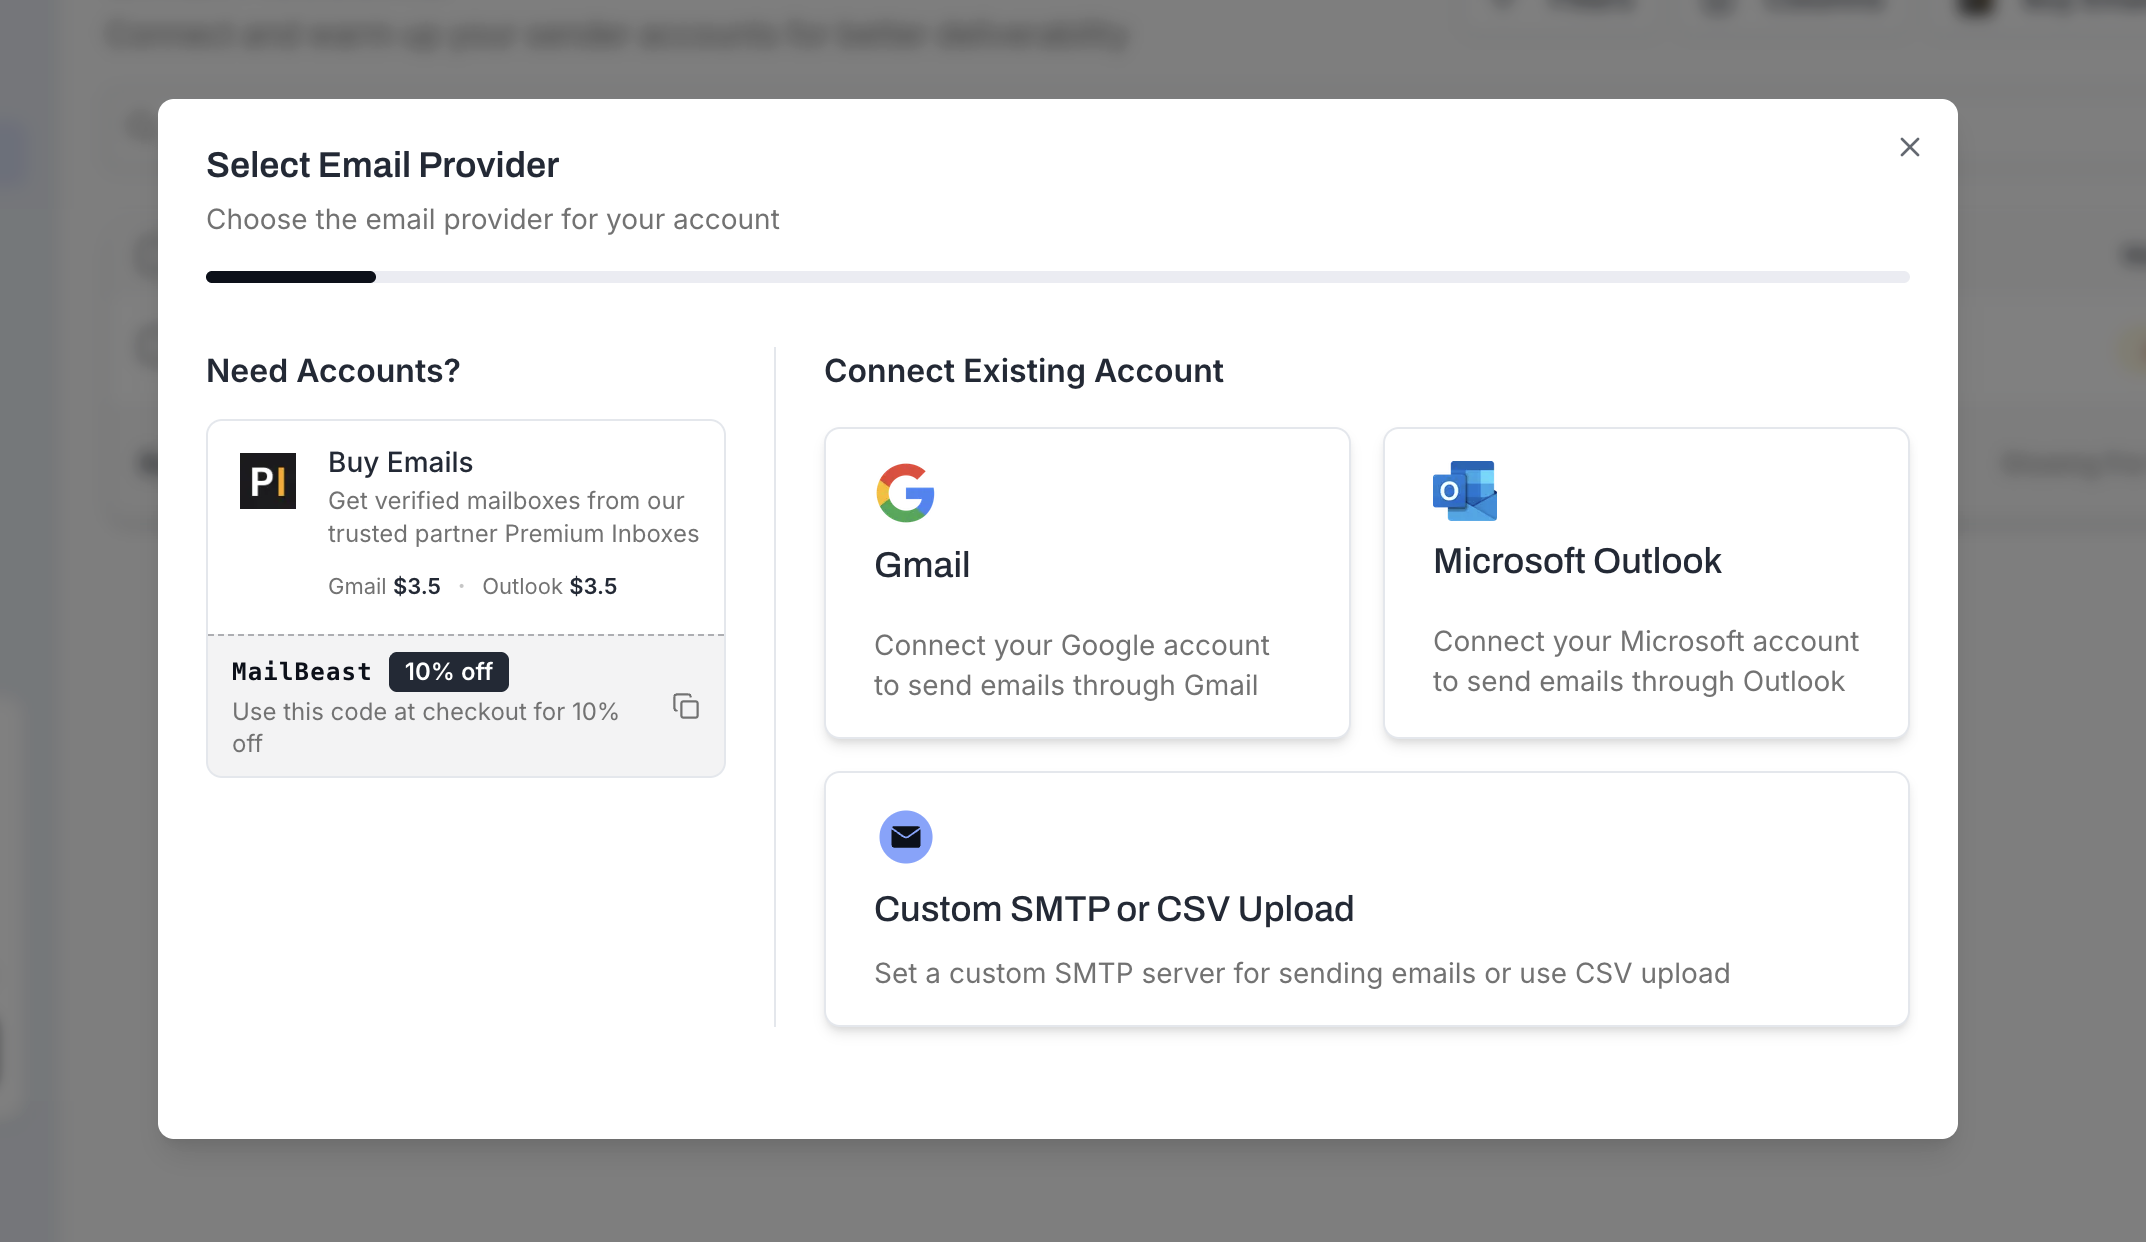
Go to Email Accounts and click the Add Account button.
Choose your provider:
Google - Authenticate via OAuth (recommended for Gmail/Google Workspace).
Microsoft - Authenticate via OAuth (recommended for Outlook/Office 365).
Custom SMTP - Enter SMTP and IMAP server details manually.
Follow the authentication flow. For Google and Microsoft, you'll be redirected to grant MailBeast access.
Once connected, MailBeast will automatically verify the connection and show your account in the list. ✅
💡 Tip: For best deliverability, use a dedicated domain for outreach (e.g., outreach.yourcompany.com) rather than your main company domain. This protects your primary domain's reputation.
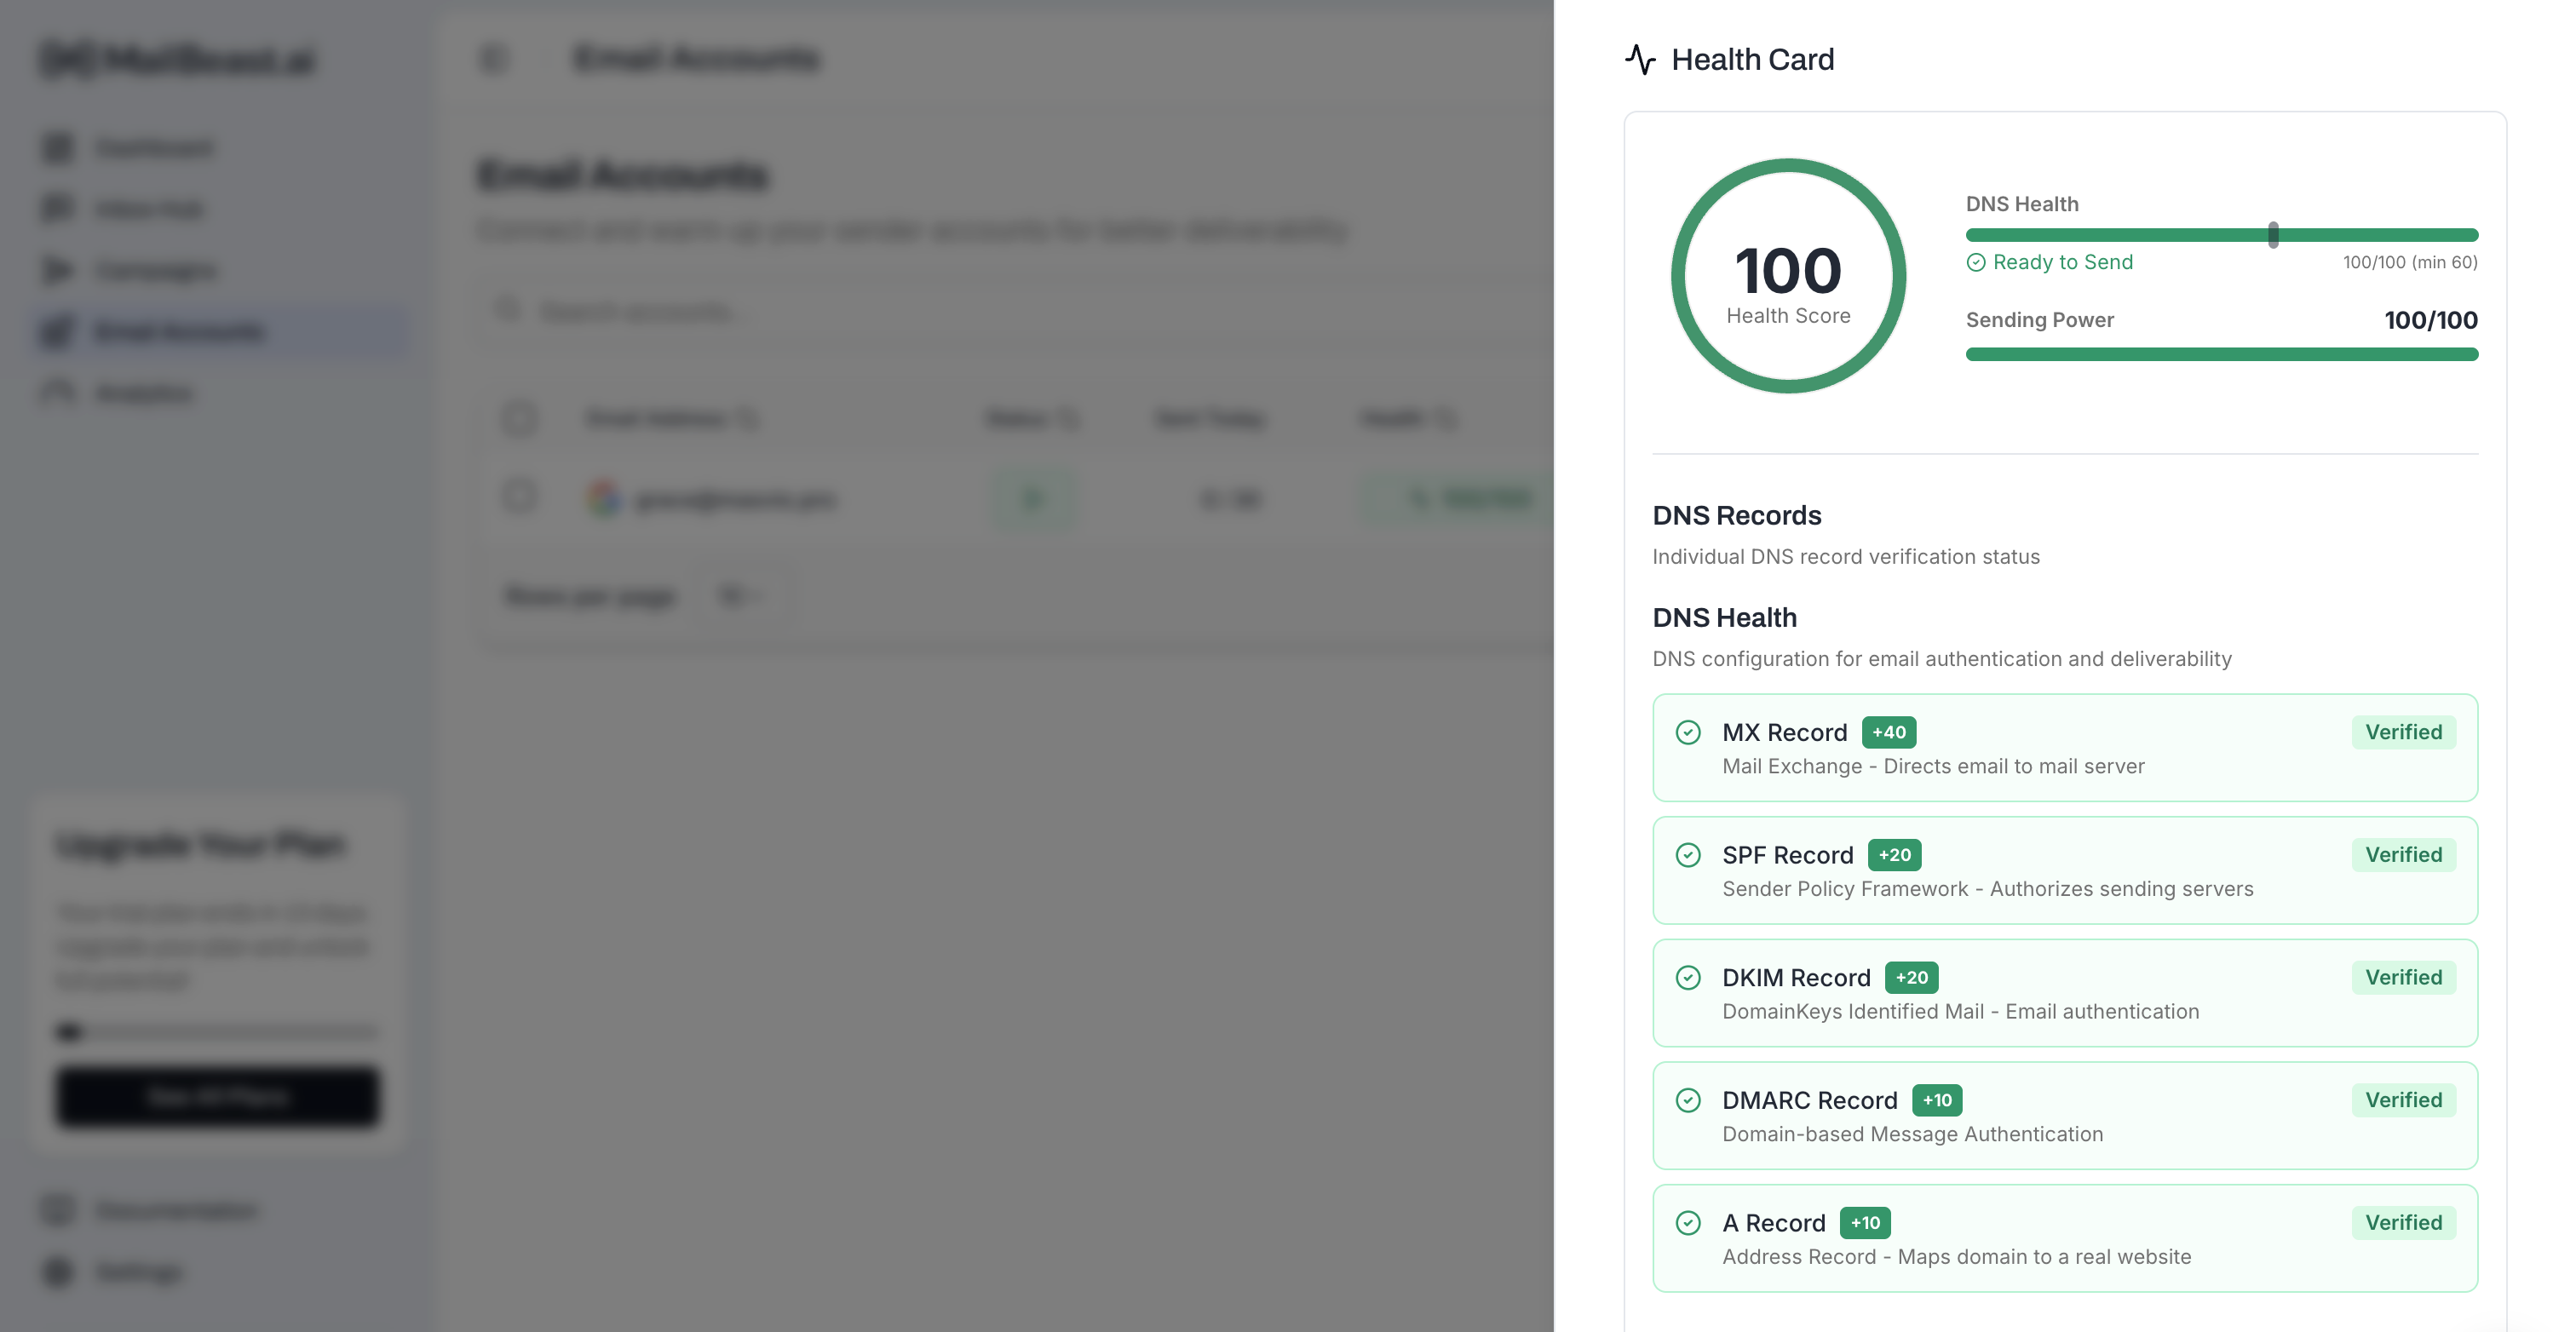
Proper DNS configuration is essential for inbox placement. MailBeast checks your records automatically - you just need to make sure everything is green.
Click on your newly connected account to open its detail sheet.
Look for the DNS Health section.
Check that all three records show green status:
SPF - Authorizes MailBeast to send on behalf of your domain.
DKIM - Cryptographically signs your emails.
DMARC - Tells receivers how to handle failed authentication.
If any record shows a warning or error, follow the provided instructions to update your DNS settings with your domain registrar.

⚠️ Why this matters: Without proper DNS records, receiving servers are more likely to flag your emails as spam. Getting this right before sending is one of the highest-impact things you can do for deliverability.
All new email accounts have zero sender reputation. Warmup builds that reputation gradually so your actual campaign emails land in the inbox, not spam. By default all mailboxes after adding them have warmup enabled.
If for any reason you want to disable it:
Open your email account's detail sheet.
Navigate to the Warmup tab.
Click Disable Warmup.
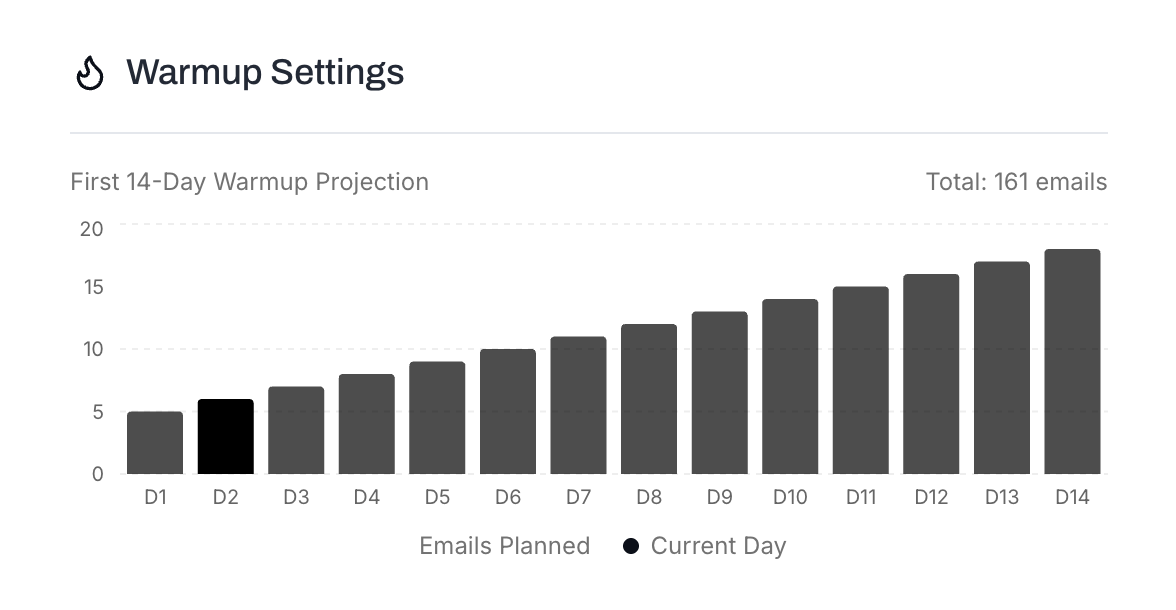

🚨 Important: Don't skip warmup. Sending campaign emails from an account with no reputation is the fastest way to land in spam. The warmup process takes a minimum of 14 days.
We know - waiting isn't fun. But this is where the magic happens behind the scenes. During the warmup period, MailBeast handles everything automatically. Here's what to keep an eye on:
Check the Warmup Dashboard periodically to see progress.
Watch the inbox placement rate - this tells you what percentage of warmup emails are landing in the inbox vs. spam.
Look for the account to reach the Maintaining phase (after 14 days), which means it has built sufficient reputation.
Your account's Health Score on the Email Accounts page will reflect warmup progress.
💡 Tip: While you wait for warmup, use this time to prepare your campaign: write your email sequence, build your lead list, and verify email addresses. That way you're ready to launch the moment warmup is complete. No time wasted! ⚡
Once your accounts are warmed up, it's time to build your first campaign. 🎯
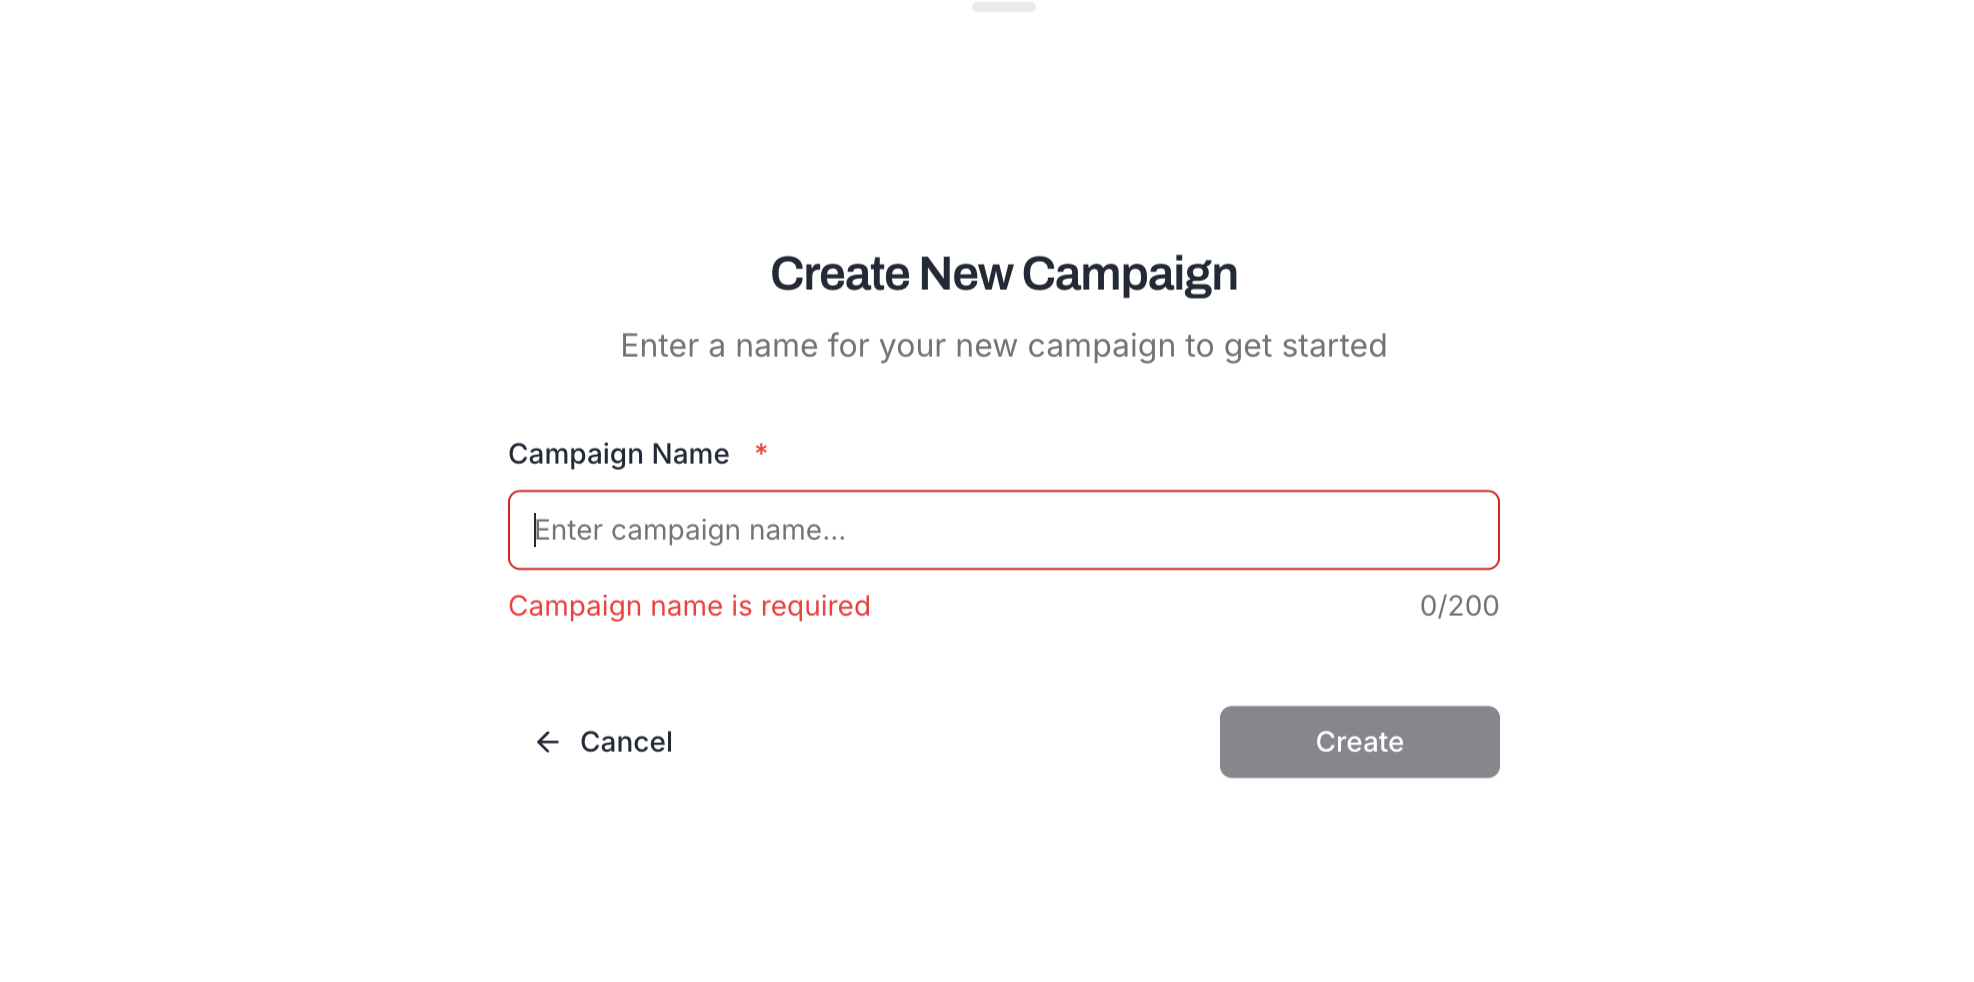
Go to Campaigns and click Create Campaign.
Enter a descriptive campaign name (e.g., "Q1 SaaS Decision Makers Outreach").
You'll be taken to the campaign editor with several tabs for building out your campaign.
Leads are the people who will receive your campaign emails.
Navigate to the Leads tab within your campaign.
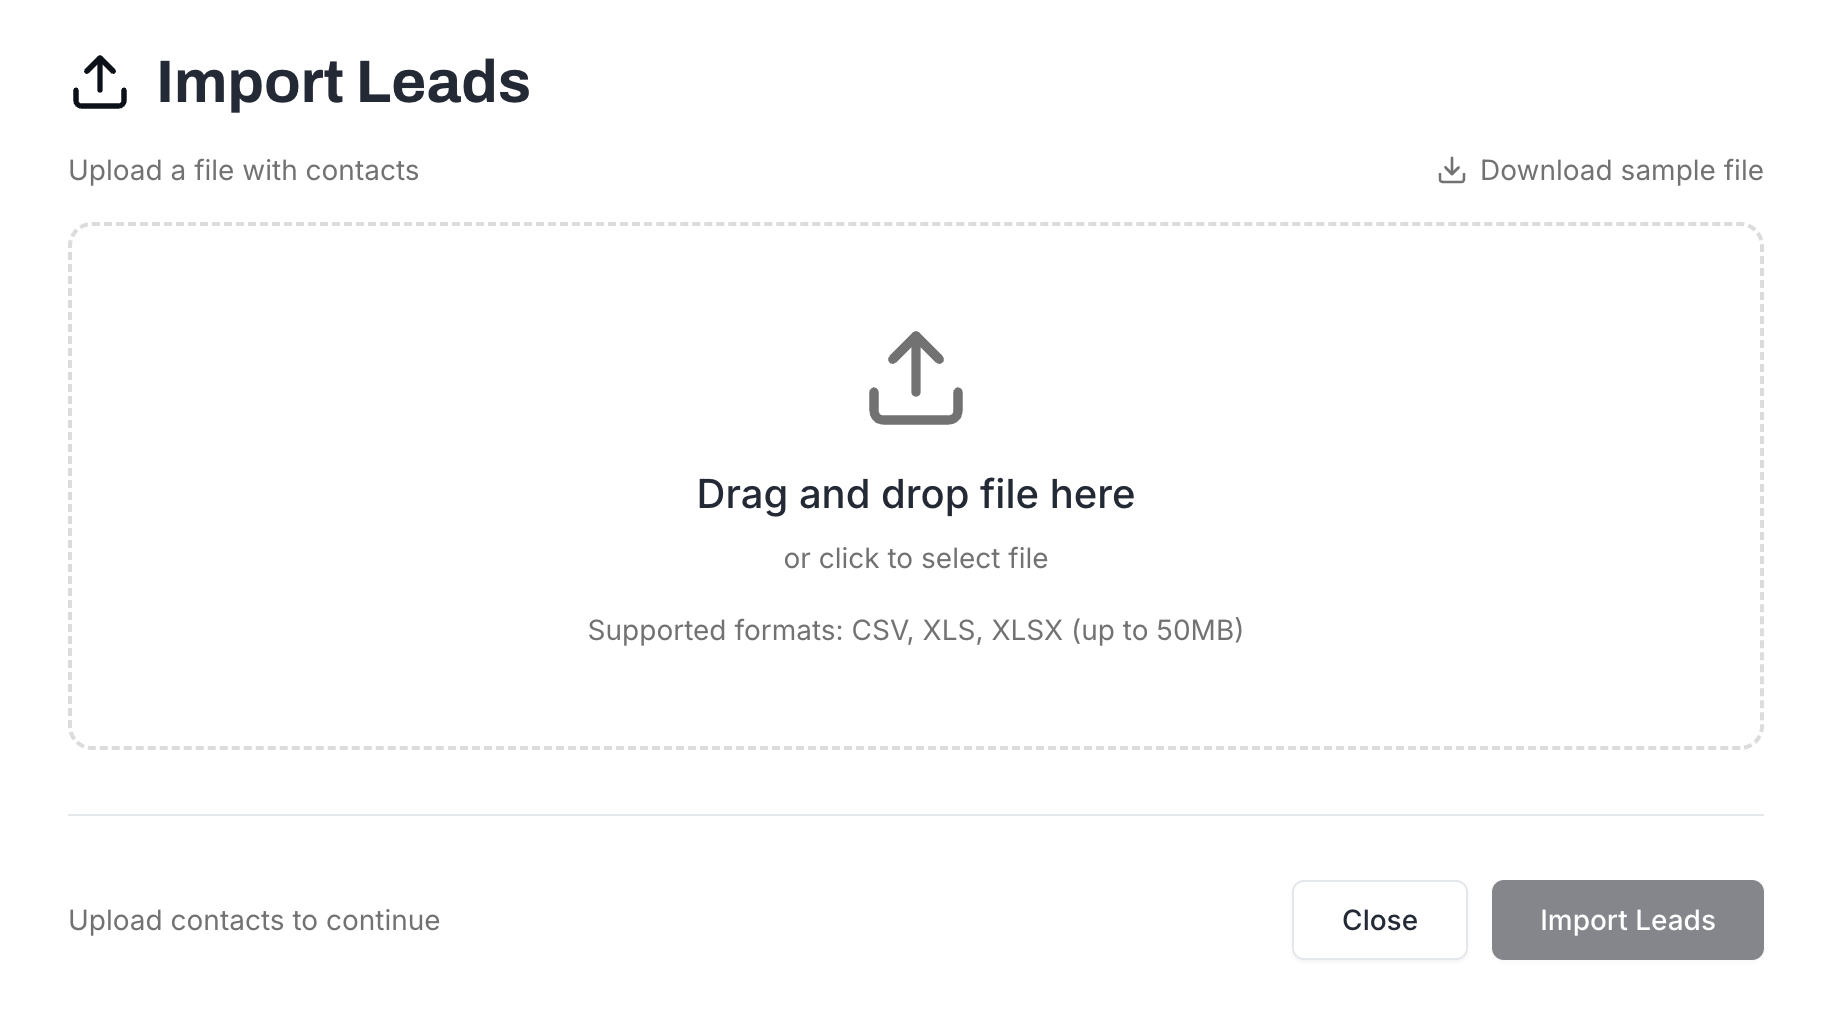
Click Import and select CSV Upload.
Upload a CSV file with columns for at minimum: email. Recommended additional columns: firstName, lastName, companyName, title.
Map your CSV columns to MailBeast fields in the import dialog.
Review the preview and confirm the import.
💡 Tip: Clean your list before importing. Remove generic addresses (info@, support@), duplicates, and obviously invalid emails. A clean list = better deliverability. 🧹
A sequence is the series of emails each lead will receive. Most campaigns have 1-3 steps (first message and follow-ups).
In your campaign, navigate to the Sequence tab.
Write your Subject Line and Email Body.
Use merge variables to personalize: {{firstName}}, {{companyName}}, {{title}}, etc.
Optionally use spintax for variation: {Hi|Hey|Hello} {{firstName}} creates three unique greetings.
To A/B test, click Add Variant to create alternative versions of the same step.
Add additional steps with appropriate wait times between them (e.g., 3 days between Step 1 and Step 2).
💡 Tip: Keep your first email short (3-5 sentences). Longer emails perform worse in cold outreach. Save the details for follow-ups.
Email verification checks whether each address is valid and deliverable. This reduces bounces, which protects your sender reputation.
In the Leads tab, select the leads you want to verify (or select all).
Click Verify Emails.
Verification runs in the background. Each verification consumes 1 email validation credit.
Once complete, leads will show verification status: valid, invalid, risky, or unknown.
Consider removing or excluding invalid and risky leads before launching.
⚠️ Why this matters: A bounce rate above 5% is a red flag to email providers. Verifying leads beforehand keeps your bounce rate low and your accounts healthy.
The sending schedule controls when emails go out.
Navigate to the Settings tab within your campaign.
Set your sending days (e.g., Monday through Friday).
Set your sending hours (e.g., 8:00 AM to 6:00 PM).
Choose the timezone (your leads' timezone, not yours).
Set the interval between emails - the minimum gap between consecutive sends from the same account.
💡 Tip: Match your schedule to your audience. If you're targeting US East Coast executives, send between 8-11 AM EST on weekdays. Avoid weekends and holidays for B2B outreach.
Choose which email accounts will be used to send this campaign.
In the Settings tab, find the Sending Accounts section.
Select one or more warmed-up email accounts.
MailBeast will automatically rotate between selected accounts to distribute sending volume.
💡 Tip: Using multiple accounts (3-5) per campaign distributes the load and reduces the risk of any single account being flagged. Make sure all selected accounts have completed warmup.
You're ready to go! Time for a final review.
Review your sequence: check the email copy, variables, and step timing.
Review your leads: confirm the count and verification status.
Review your settings: schedule, sending accounts, and daily limits.
Click Start Campaign.
MailBeast will begin sending according to your schedule.
Once launched, monitor your campaign from the campaign detail page and check InboxHub for incoming replies. You're officially in the game! 🎉
After launching:
Replies will appear in InboxHub, where AI classifies them automatically.
Analytics will populate in real time - track opens, replies, bounces, and more.
Follow-up steps in your sequence will send automatically at the configured intervals.
Action Required items will appear on your Dashboard if anything needs attention.
Skipping warmup - This is the #1 cause of landing in spam. Always warm up new accounts for at least 14 days.
Importing unverified leads - High bounce rates damage your sender reputation quickly.
Sending too many emails too fast - Start with conservative daily limits and increase gradually.
Writing long first emails - Keep cold emails short and focused on the recipient, not on you.
Not checking DNS - Missing SPF, DKIM, or DMARC records will hurt deliverability from day one.
Understanding the Dashboard - Learn what every section of the dashboard tells you.
Navigating the Interface - Find your way around the platform.
Glossary - Definitions of key terms.